Bella’s classic waffle maker delivers golden‚ delicious waffles quickly and easily․ Enjoy a delightful breakfast experience with this user-friendly kitchen appliance!
What is the Bella Classic Waffle Maker?
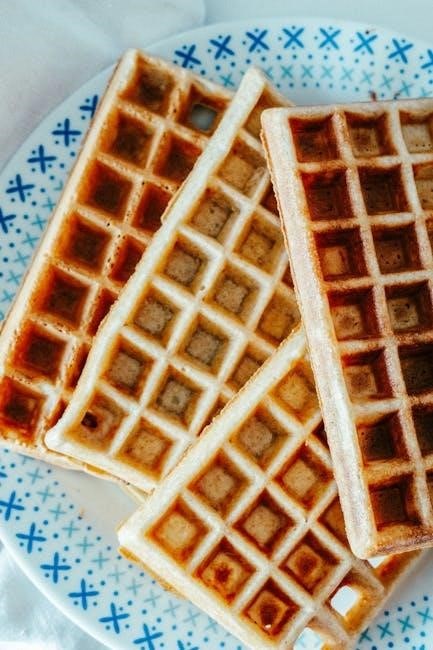
The Bella Classic Waffle Maker is a compact and convenient appliance designed for creating perfectly cooked waffles in the comfort of your own home․ It’s a popular choice for individuals and families seeking a simple‚ affordable way to enjoy a classic breakfast treat․ This model typically features non-stick cooking plates‚ ensuring easy food release and cleanup․
Unlike more complex waffle makers‚ the Bella Classic prioritizes ease of use․ It generally includes basic controls for temperature adjustment and a ready indicator light to signal when the unit has reached the optimal cooking temperature․ Its straightforward design makes it ideal for first-time waffle makers or those who prefer a no-fuss approach to breakfast preparation․ The compact size also makes it easy to store when not in use‚ a significant benefit for smaller kitchens․
Why Choose a Bella Waffle Maker?
Choosing a Bella Waffle Maker means opting for convenience‚ affordability‚ and consistent results․ These waffle makers are renowned for their user-friendly operation‚ making them perfect for busy mornings or weekend brunches․ The non-stick plates simplify cooking and cleaning‚ eliminating frustrating stuck-on messes․
Bella waffle makers offer a fantastic balance between price and performance‚ delivering delicious waffles without breaking the bank․ Their compact design is ideal for small kitchens or limited storage space․ Furthermore‚ Bella consistently receives positive reviews for its durability and reliability․ You’re investing in a kitchen appliance that’s built to last and provide years of enjoyable waffle-making experiences․ It’s a simple way to elevate your breakfast routine!
Understanding the Components
Familiarizing yourself with the Bella waffle maker’s parts – plates‚ housing‚ lights‚ and controls – ensures safe and efficient operation for perfect waffles every time․
Waffle Plates – Non-Stick Coating
The Bella Classic Waffle Maker features high-quality‚ non-stick coated waffle plates․ This coating is crucial for easy waffle release and simplifies the cleaning process significantly․ However‚ it’s a delicate surface and requires careful handling to maintain its effectiveness․
Avoid using metal utensils‚ abrasive cleaners‚ or scouring pads‚ as these can scratch and damage the non-stick coating․ Opt for silicone or wooden utensils instead․ While the coating minimizes sticking‚ a light spray of cooking oil or non-stick spray before each use is recommended‚ especially for the first few waffles‚ to further enhance release and ensure consistently golden results․
Regular gentle cleaning with a soft cloth and warm‚ soapy water will prolong the life of the non-stick coating․ Remember to thoroughly dry the plates after cleaning to prevent rust or corrosion․ A well-maintained non-stick surface guarantees years of effortless waffle making!
Housing & Exterior Features
The Bella Classic Waffle Maker boasts a durable and heat-resistant exterior housing‚ designed for safety and longevity․ Typically constructed from high-quality plastic‚ the housing remains cool to the touch during operation‚ minimizing the risk of accidental burns․ The compact design allows for easy storage‚ fitting neatly into kitchen cabinets or on countertops․
You’ll notice a secure latch system that firmly closes the waffle maker during cooking‚ ensuring even heat distribution and preventing batter leakage․ The exterior is generally easy to wipe clean with a damp cloth – avoid immersing the unit in water․ Pay attention to the hinge mechanism; keeping it free from debris ensures smooth opening and closing․
Ergonomic handle designs provide a comfortable and secure grip․ Inspect the housing periodically for any cracks or damage‚ and discontinue use if any are found․ Proper care of the exterior contributes to the overall lifespan of your waffle maker․
Indicator Lights – Power & Ready
The Bella Classic Waffle Maker utilizes two key indicator lights to guide you through the cooking process․ The Power light illuminates when the waffle maker is plugged into a functioning electrical outlet‚ confirming it’s receiving power․ This light will remain consistently lit throughout operation․
More importantly‚ the Ready light signals when the waffle maker has reached the optimal cooking temperature․ Do not attempt to pour batter onto the plates until the Ready light is solid and consistently illuminated․ This ensures your waffles cook evenly and achieve a golden-brown finish․
If the Ready light cycles on and off‚ it indicates the waffle maker is still heating up or maintaining temperature․ Some models may have a slightly different light configuration‚ so always refer to the specific instructions included with your unit․ Ignoring these lights can result in undercooked or burnt waffles․
Control Knob/Buttons – Temperature & Browning
Your Bella Classic Waffle Maker features a control knob or buttons designed to adjust the cooking temperature and desired browning level․ Rotating the knob (or pressing the buttons) allows you to select from a range of settings‚ typically indicated by numbers or descriptive terms like “Light‚” “Medium‚” and “Dark․”
Lower settings are ideal for lighter‚ fluffier waffles‚ while higher settings produce crispier‚ more golden-brown results․ Experimenting with different settings is encouraged to find your perfect waffle! Start with a medium setting and adjust accordingly based on your preference․
Remember that cooking times may vary depending on the chosen temperature․ Always monitor your waffles closely during the initial cooking attempts․ Some models may have pre-programmed settings for specific waffle types‚ offering convenient one-touch operation․ Refer to your model’s specific guide for details․

Setting Up Your Bella Waffle Maker
Before first use‚ ensure the waffle maker is clean and properly positioned․ Connect to a grounded outlet for safe and optimal performance․
First-Time Use – Cleaning & Seasoning
Prior to your inaugural waffle-making session‚ a thorough cleaning is essential․ Gently wipe down the non-stick plates with a damp‚ soft cloth․ Avoid abrasive cleaners‚ as they can damage the coating․ Never immerse the appliance in water!
Seasoning the plates isn’t strictly necessary‚ but a light coating of cooking spray or melted butter can enhance the initial non-stick performance and contribute to a beautifully golden waffle․ Apply sparingly and wipe away any excess with a clean paper towel․ This creates a protective layer․
This initial process removes any potential manufacturing residue and prepares the waffle maker for consistently perfect results․ Allow the unit to heat up briefly after seasoning – about 5 minutes on a medium setting – to help the oil or butter set․ Always unplug before cleaning!
Powering On & Initial Heating
Ensure the waffle maker is placed on a stable‚ heat-resistant surface before plugging it in․ Connect the power cord to a grounded electrical outlet – we’ll discuss outlet suitability shortly․ The power indicator light should illuminate‚ confirming a connection․
Begin with a medium temperature setting using the control knob․ Allow the waffle maker to heat up completely; the “Ready” indicator light will signal when it’s reached the optimal temperature․ Initial heating typically takes between 3-5 minutes‚ but this can vary․
During the heating phase‚ avoid opening the lid unnecessarily‚ as this releases heat and prolongs the process․ A slight odor may be noticeable during the first few uses – this is normal and will dissipate with subsequent use․ Patience is key for perfectly cooked waffles!
Choosing a Suitable Outlet
Selecting the right electrical outlet is crucial for safe and efficient operation․ The Bella Classic Waffle Maker requires a standard 120V‚ 60Hz outlet․ Avoid using extension cords if possible; if one is necessary‚ ensure it’s a heavy-duty cord rated for at least 1300 watts to prevent overheating․
Never plug the waffle maker into an outlet that is shared with other high-wattage appliances‚ such as a microwave or hairdryer․ This can overload the circuit and potentially cause a breaker to trip or‚ in rare cases‚ a fire hazard․
Inspect the outlet for any signs of damage‚ like cracks or loose wiring․ If you notice any issues‚ do not use the outlet and consult a qualified electrician․ A dedicated outlet is always the safest option for optimal performance․

Making Perfect Waffles – The Process
Follow these simple steps to create consistently delicious waffles․ Proper batter consistency and cooking time are key to achieving golden-brown perfection!
Preparing Your Waffle Batter
Begin with a quality waffle mix or your favorite homemade recipe․ Ensure all ingredients are fresh for optimal flavor and texture․ Thoroughly combine dry ingredients – flour‚ sugar‚ baking powder‚ and salt – in a large bowl․
In a separate container‚ whisk together wet ingredients: eggs‚ milk (or buttermilk for extra tang!)‚ and melted butter or oil․ Gently pour the wet ingredients into the dry‚ mixing until just combined․
Avoid overmixing‚ as this can develop the gluten and result in tough waffles․ A few lumps are perfectly acceptable! Let the batter rest for 5-10 minutes; this allows the baking powder to activate‚ creating lighter‚ fluffier waffles․ Adjust the batter’s consistency with a splash of milk if it appears too thick‚ or a bit more flour if it’s too thin․
Pouring the Batter – Avoiding Overflow
Before pouring‚ ensure your Bella waffle maker is preheated and the indicator light signals it’s ready․ Gently lift the lid and carefully pour the batter onto the center of the lower waffle plate․ Use approximately ½ to ¾ cup of batter‚ depending on the size of your waffle maker and desired thickness․
Avoid overfilling! The batter will spread as the plates close․ Overfilling leads to messy overflow‚ making cleanup difficult and potentially damaging the waffle maker․ Close the lid gently; do not force it․ A small amount of batter may seep to the edges – this is normal․
Resist the urge to open the lid during cooking․ This releases heat and can result in unevenly cooked waffles․ Allow the waffle maker to complete its cycle‚ indicated by the ready light․
Cooking Time & Browning Levels
Generally‚ the Bella Classic Waffle Maker takes approximately 3-5 minutes to cook a batch of waffles‚ but this varies based on your desired browning level and the waffle maker’s temperature setting․ Most models feature a control knob allowing you to adjust the heat․
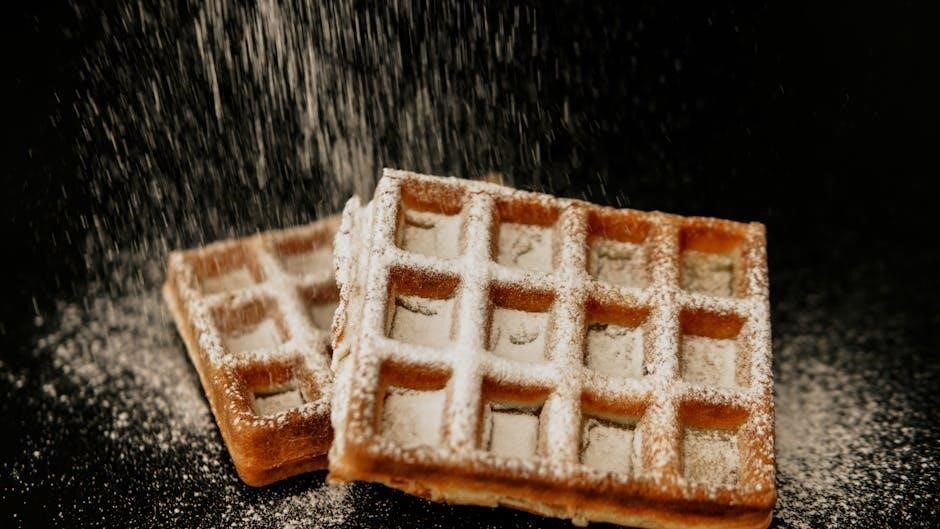
Lower settings produce lighter‚ softer waffles‚ while higher settings yield darker‚ crispier results․ Experiment to find your perfect setting! The indicator light will typically change when the waffle is ready․ For a golden-brown waffle‚ a medium setting is often ideal․
Remember that cooking times are estimates․ Always check for doneness visually before removing the waffle‚ as individual waffle makers may differ slightly in performance․
Checking for Doneness – Visual Cues
Determining when your waffle is perfectly cooked relies heavily on visual cues․ The most obvious sign is when the steam escaping from the waffle maker significantly diminishes․ This indicates much of the moisture has evaporated․
Look for a golden-brown color across the waffle surface; however‚ color can vary depending on your batter and temperature setting․ Gently lift the lid – if the waffle releases easily‚ it’s likely done․ If it sticks‚ allow it to cook for another 30-60 seconds․
A slightly crisp exterior is another good indicator․ Avoid overcooking‚ as this can lead to a dry‚ brittle waffle․ Trust your instincts and remember‚ a little experimentation will help you master the perfect waffle!

Cleaning & Maintenance
Regular cleaning ensures your Bella waffle maker’s longevity and optimal performance․ Proper care preserves the non-stick surface and prevents food buildup effectively․
Cooling Down Before Cleaning
Before you even think about cleaning your Bella Classic Waffle Maker‚ safety is paramount! Always‚ and we mean always‚ unplug the appliance from the electrical outlet․ This prevents accidental shocks or injuries during the cleaning process․ More importantly‚ allow the waffle maker to cool down completely․
The waffle plates and exterior housing will be extremely hot immediately after use․ Attempting to clean a hot waffle maker can cause severe burns․ Give it at least 30-60 minutes to cool to the touch․ You can gently touch the exterior to test if it’s cool enough‚ but be cautious! Rushing this step isn’t worth the risk․ Patience is key to a safe and effective cleaning routine․ A cooled waffle maker is a happy‚ and safely cleanable‚ waffle maker!
Cleaning the Waffle Plates
Once the waffle maker is completely cool‚ focus on the waffle plates․ Gently wipe away any excess batter or waffle crumbs with a soft cloth or paper towel․ For stubborn residue‚ dampen the cloth with warm water – never submerge the waffle maker in water! Avoid abrasive cleaners or scouring pads‚ as these can damage the non-stick coating․
If food is really stuck‚ create a paste of baking soda and water‚ apply it to the plates‚ let it sit for a few minutes‚ then gently wipe clean․ Ensure all traces of baking soda are removed․ A slightly damp cloth is usually sufficient for a thorough clean․ Dry the plates completely with a clean‚ dry cloth before storing․ Maintaining the non-stick surface ensures optimal performance and longevity․
Cleaning the Exterior Housing
After cleaning the waffle plates‚ turn your attention to the exterior․ Always ensure the waffle maker is unplugged and completely cool before cleaning the housing․ Use a slightly damp‚ soft cloth to wipe down the exterior surfaces․ Avoid harsh chemicals‚ abrasive cleaners‚ or excessive water‚ as these can damage the finish or potentially enter the unit․
For greasy spots‚ a mild dish soap solution can be used sparingly‚ followed by a clean‚ damp cloth to remove any soap residue․ Pay attention to areas where batter may have splattered during use․ Dry the exterior thoroughly with a clean‚ dry cloth to prevent water spots and ensure it’s ready for storage․ Regular cleaning keeps your Bella waffle maker looking its best!
Safe Storage Practices
Proper storage extends the life of your Bella Classic Waffle Maker․ Before storing‚ ensure the unit is completely cool‚ clean‚ and dry․ Avoid wrapping the power cord tightly around the appliance‚ as this can damage the wiring over time․ Instead‚ loosely coil the cord and secure it with a reusable cable tie or Velcro strap․
Store the waffle maker in a cool‚ dry place‚ away from direct sunlight and moisture․ Ideally‚ place it in its original packaging or a similar protective container to prevent dust accumulation and accidental damage․ Avoid stacking heavy items on top of the waffle maker․ Upright storage is generally recommended․ Following these practices ensures your waffle maker remains in excellent condition for years of delicious waffles!

Troubleshooting Common Issues
Encountering problems? This section provides solutions for waffle sticking‚ heating issues‚ light malfunctions‚ and uneven cooking – ensuring waffle perfection always!
Waffle Sticking to Plates
If your waffles are persistently sticking to the plates‚ despite the non-stick coating‚ several factors could be at play․ First‚ ensure you’ve adequately preheated the waffle maker; a cold plate significantly increases sticking․ Secondly‚ verify you’ve applied a sufficient amount of cooking spray or oil before each batch – even if the manual suggests it’s not always necessary‚ a light coating provides extra insurance․
Avoid opening the waffle maker prematurely․ Allow the waffle to cook fully‚ indicated by the reduced steaming and the waffle’s firm texture․ Attempting to remove a partially cooked waffle will almost certainly result in sticking․ If sticking continues‚ gently use a plastic or wooden utensil (never metal!) to carefully lift the waffle․
Finally‚ ensure the plates are thoroughly cleaned after each use to remove any batter residue that could contribute to sticking in subsequent batches; A build-up of old batter compromises the non-stick surface․
Waffle Maker Not Heating
If your Bella waffle maker isn’t heating‚ begin with the simplest checks․ Confirm the unit is securely plugged into a functioning electrical outlet․ Test the outlet with another appliance to rule out a power supply issue․ Next‚ verify the power switch is fully engaged – sometimes it doesn’t appear to be off‚ but isn’t quite on either․
Observe the indicator lights․ If neither the power nor the “ready” light illuminates‚ the heating element may have failed‚ or there could be an internal wiring problem․ Do not attempt to disassemble the unit yourself; this could be dangerous and void the warranty․
If the power light is on‚ but the “ready” light doesn’t come on‚ allow a few minutes for preheating․ If it still doesn’t heat‚ contact Bella customer support for assistance or consider a replacement if the unit is still under warranty․
Indicator Light Issues
Understanding the indicator lights on your Bella waffle maker is crucial for proper operation․ The power light should illuminate immediately when plugged in and switched on‚ confirming a power connection․ The “ready” light indicates the waffle maker has reached the optimal temperature for cooking․
If the power light doesn’t illuminate‚ check the power cord and outlet as described in the “Waffle Maker Not Heating” section․ A flashing “ready” light can sometimes indicate the unit is still preheating‚ but if it continues to flash indefinitely‚ it may signal a temperature sensor issue․
If the “ready” light turns off during cooking‚ the unit may be cycling to maintain temperature – this is normal․ However‚ if both lights turn off unexpectedly‚ or behave erratically‚ discontinue use and contact Bella customer support for guidance․
Unevenly Cooked Waffles
Achieving consistently golden-brown waffles requires attention to a few key factors․ Uneven cooking often stems from inconsistent batter distribution; ensure you’re pouring enough batter to cover the waffle grid‚ but avoid overfilling‚ which can lead to overflow and unevenness․
Temperature control is also vital․ Experiment with the browning settings to find the sweet spot for your batter and desired crispness․ A lower setting might be necessary for thinner batters․ Ensure the waffle maker is properly preheated before adding batter – the “ready” light is your guide․
If unevenness persists‚ gently lift the waffle maker during cooking to check for hot spots․ Rotating the waffle maker slightly during the final minute can also promote more even browning․ Consistent batter thickness is also key!
Advanced Tips & Recipes
Unlock your waffle maker’s potential! Explore diverse batters and creative mix-ins for exciting variations‚ extending beyond traditional waffles to savory delights․
Experimenting with Different Batters
Beyond the classic buttermilk recipe‚ a world of waffle batter possibilities awaits! Don’t limit yourself – explore whole wheat batters for a nuttier flavor and added fiber; Cornmeal batters create a delightfully crispy texture‚ perfect with savory toppings․
For a lighter‚ fluffier waffle‚ try using whipped egg whites folded gently into your batter․ Gluten-free batters‚ utilizing blends of rice flour‚ tapioca starch‚ and potato starch‚ offer an inclusive option for those with dietary restrictions․
Consider savory batters! Incorporate grated cheese‚ herbs like chives or rosemary‚ or even cooked bacon bits directly into the batter for a unique and satisfying waffle experience․ Remember to adjust liquid levels as needed when adding substantial ingredients․ Each batter will require slight adjustments to cooking time for optimal results with your Bella waffle maker․
Adding Mix-Ins – Fruits‚ Chocolate Chips
Elevate your waffles with delightful mix-ins! Fresh or frozen berries – blueberries‚ raspberries‚ strawberries – add a burst of juicy sweetness․ Gently fold about ½ cup of berries into your batter just before pouring onto the hot waffle plates․
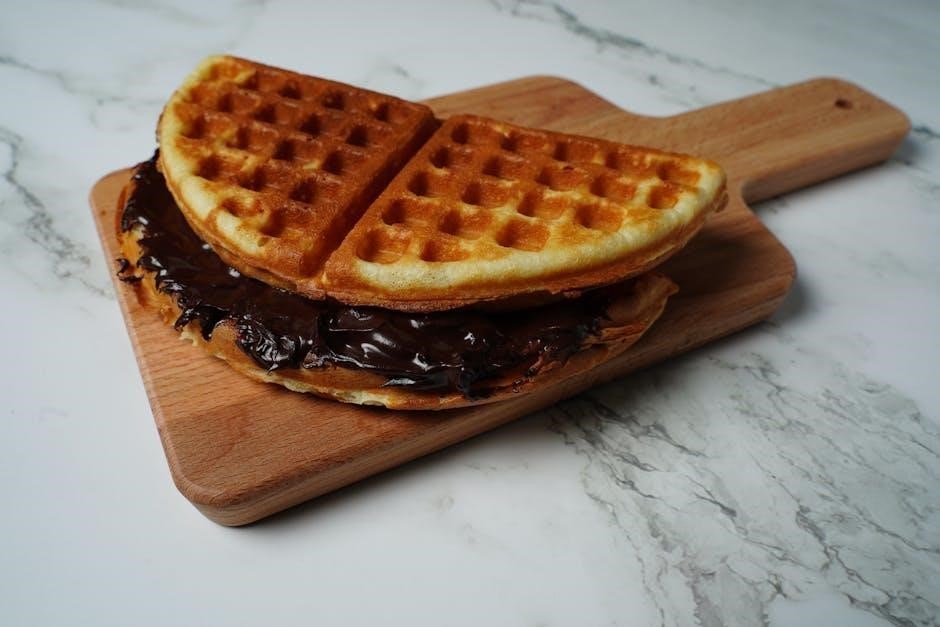
Chocolate chips are a classic addition; mini chocolate chips distribute more evenly․ Sprinkle approximately ¼ cup into the batter or directly onto the waffle as it cooks․ For a more decadent treat‚ try white chocolate or peanut butter chips․
Don’t stop there! Chopped nuts‚ shredded coconut‚ or even a sprinkle of cinnamon can enhance the flavor and texture․ Be mindful not to overfill the waffle maker; excess mix-ins can cause overflow․ Experiment and discover your favorite combinations with your Bella Classic Waffle Maker!
Waffle Maker Recipes Beyond Waffles
Your Bella Classic Waffle Maker isn’t just for waffles! Get creative with savory and sweet alternatives․ Try “waffled” grilled cheese sandwiches – the crispy exterior is incredible․ Simply butter the plates and cook as you would a waffle․
Hash browns become delightfully crispy when waffled; press cooked hash browns into the hot plates․ For a sweet treat‚ consider waffled brownies or cookie dough – a fun and unique dessert! Pizza waffles are also a hit; spread pizza sauce and toppings between two waffle batter layers․
Experiment with polenta or even cornbread batter for a different texture․ Remember to adjust cooking times based on the recipe․ Clean thoroughly after each use‚ especially when using savory ingredients‚ to prevent flavor transfer․